This post may contain affiliate links. Please check our disclosure policy.
WHY DO I GRIND PORK AT HOME?
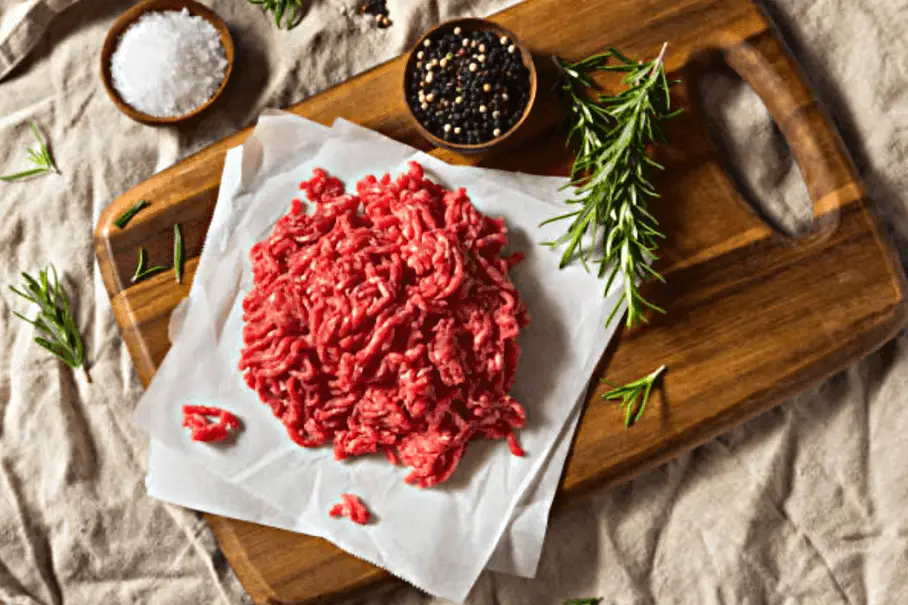
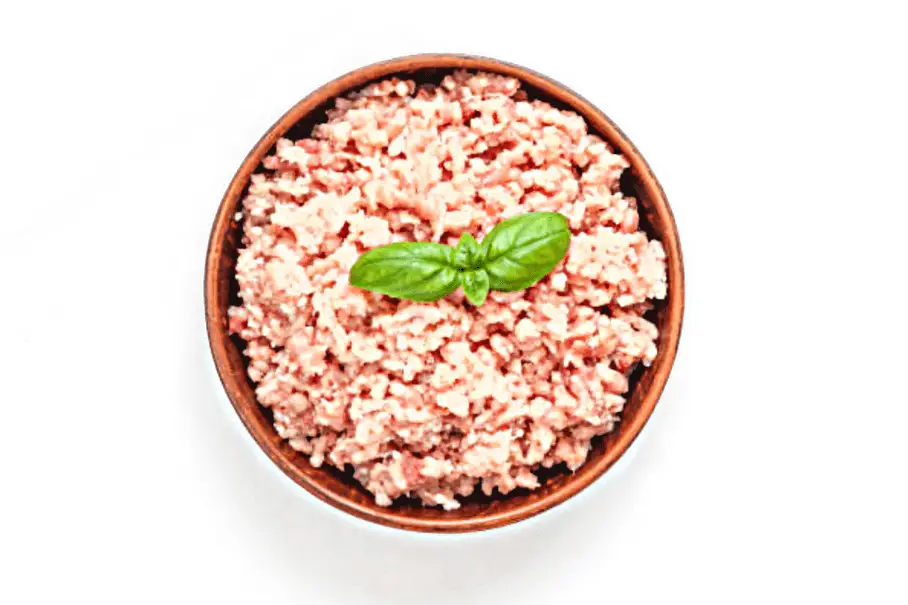
Grinding your own pork at home can provide numerous benefits. You have complete control over the quality and freshness of the meat, and you can also customize the seasoning and texture to your liking. Grinding meat at home can also save you money in the long run, as buying pre-ground meat from the store often comes with a premium. I will show you how to grind your own pork using a food processor, making it a simple and convenient process.
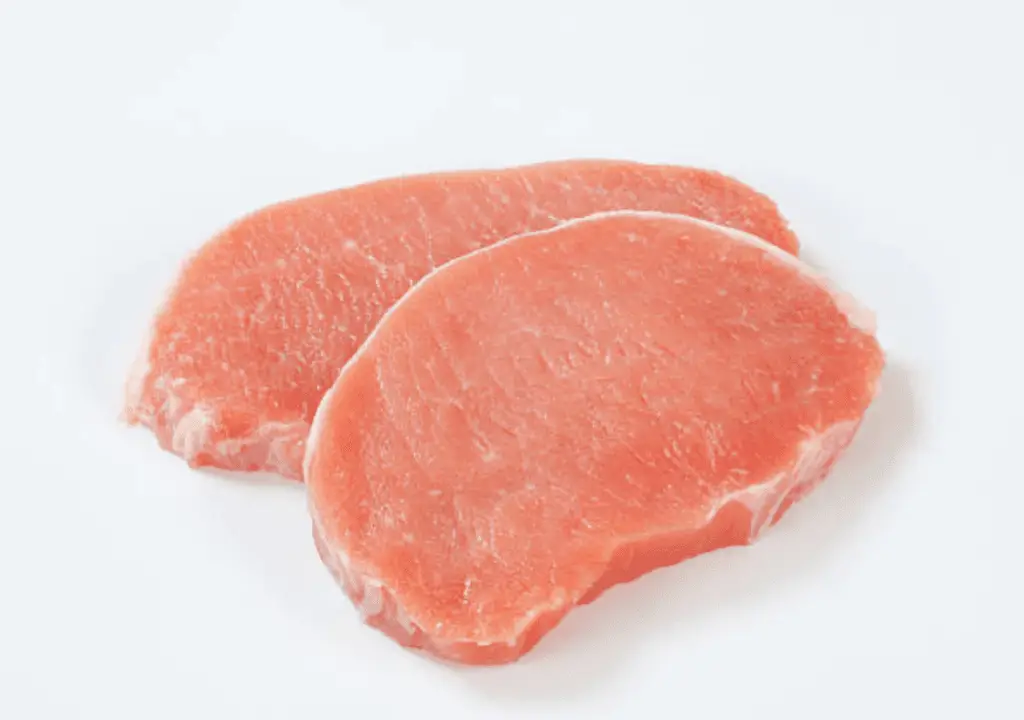
STEP 1: PREPARING THE PORK
STEP 2: ASSEMBLING THE FOOD PROCESSOR
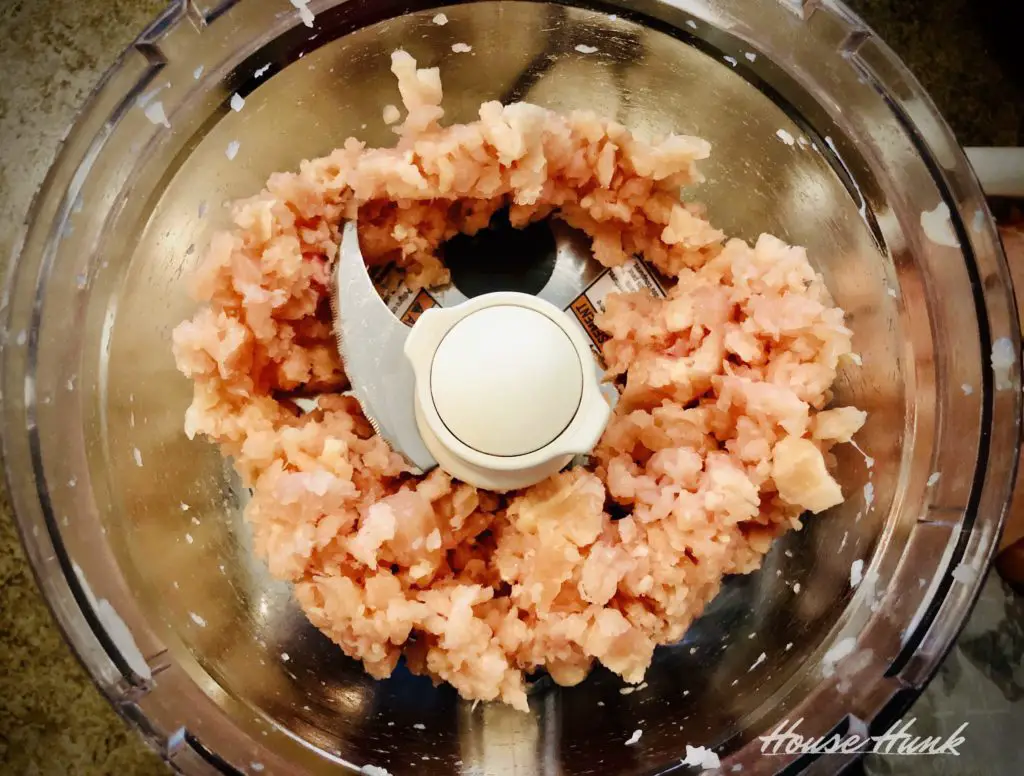
STEP 3: HOW TO GRIND YOUR OWN PORK
When I realized how to mince pork, I was kind of kicking myself wishing I had done this sooner.
- Add the small pieces of pork to the food processor.
- Pulse the meat in the food processor until the desired consistency is reached.
- If a finer grind is desired, pulse the meat for longer.
- If the meat gets stuck in the blade, stop the food processor.
- Use a spatula to scrape down the sides of the food processor.
- Continue pulsing the meat until the desired consistency is reached.
- Be careful not to overwork the meat, as this can result in a tough, rubbery texture.
STEP 4: SEASONING AND STORING THE PORK
Once you have achieved the desired grind, it’s time to add any spices or seasonings you desire. Some popular options include salt, pepper, garlic, and sage. Mix the seasonings thoroughly into the ground pork. The ground pork can be stored in the refrigerator for up to two days, or in the freezer for up to three months.
RELATED: Homemade Italian Seasoning

IS GROUND PORK HEALTHY?
Ground pork can be a healthy source of protein, vitamins, and minerals when consumed in moderation and as part of a balanced diet. However, the nutritional value of ground pork can vary depending on factors such as the cut of pork used and the method of preparation.
Ground pork can be high in fat and calories, so it’s important to choose lean cuts of pork and to limit portions. It’s also important to pay attention to added ingredients such as salt and preservatives that may be present in processed ground pork products.
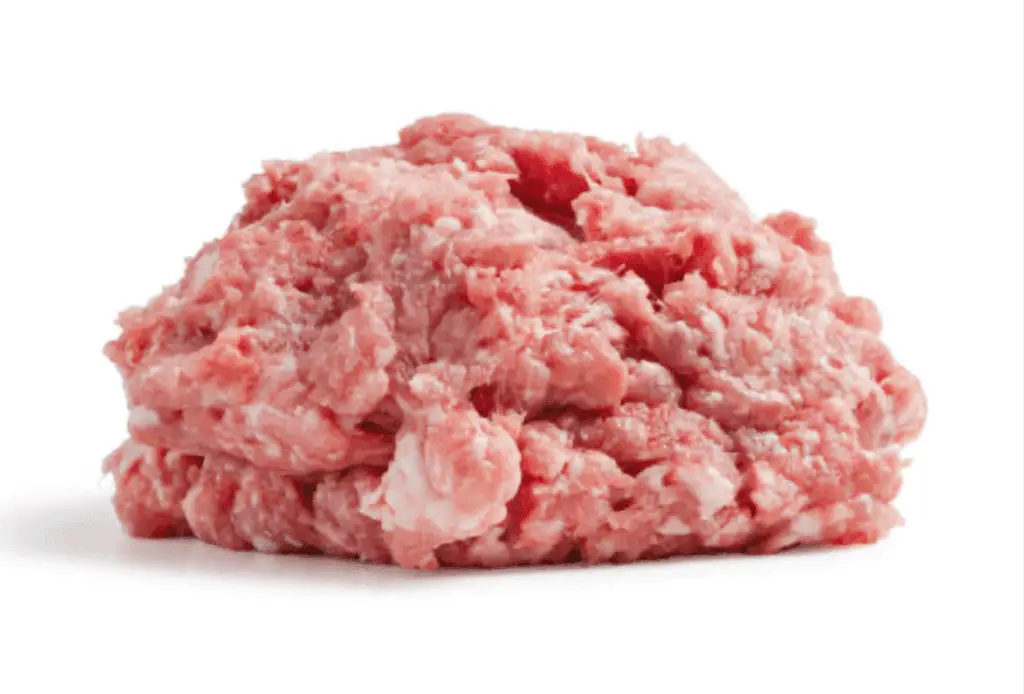
CAN YOU GRIND PORK AHEAD OF TIME?
Yes, you can grind pork ahead of time and store it in the refrigerator or freezer until you’re ready to use it. However, it’s important to handle ground pork properly to prevent the growth of harmful bacteria that can cause foodborne illness.
If you’re planning to grind pork ahead of time, make sure to use fresh pork and keep it refrigerated at 40°F (4°C) or below before and after grinding. Ground pork can be stored in the refrigerator for up to two days or in the freezer for up to three months.
CAN YOU FREEZE GROUND PORK?
Yes, you can freeze ground pork. Freezing ground pork is a great way to extend its shelf life and keep it fresh until you’re ready to use it.
To freeze ground pork, place it in an airtight container or freezer bag and remove as much air as possible to prevent freezer burn. Label the container or bag with the date and contents and store it in the freezer at 0°F (-18°C) or below.
Ground pork can be frozen for up to three months without significant loss of quality. To thaw frozen ground pork, place it in the refrigerator and allow it to thaw slowly. Avoid thawing ground pork at room temperature, as this can allow harmful bacteria to grow.
HOW TO SERVE GROUND PORK?
Now that you have perfected the art of grinding pork with a food processor, it is time to put that new skill of yours to good use! Check out these recipes using ground pork:

WHAT KITCHEN TOOLS DO I NEED TO MAKE HOMEMADE GROUND PORK?
- A food processor
- Spatula – for scraping the bowl of the food processor
- Sharp knife
- Cutting board
- Mixing bowl – for combining ground pork and seasonings
How To Grind Your Own Pork at Home
Instructions
- Add the small pieces of pork to the food processor.
- Pulse the meat in the food processor until the desired consistency is reached.
- If a finer grind is desired, pulse the meat for longer.
- If the meat gets stuck in the blade, stop the food processor.
- Use a spatula to scrape down the sides of the food processor.
- Continue pulsing the meat until the desired consistency is reached.
- Be careful not to overwork the meat, as this can result in a tough, rubbery texture.
